This is the first topic in the series of mobile application development through Android Studio.
The topics will start from the basic (introductory) level and progress to advanced levels, touching on both JAVA and KOTLIN in subsequent discussions.
Those with experience in Android programming or those without any experience but aiming to improve themselves can follow my topics to gain information. You can also post under each topic regarding the installation process, Emulator, issues encountered after installation, or any problems that may arise during application development. Feel free to provide feedback on parts you find missing or areas you want to add.
All tutorials will be conducted using Android Studio version 3.1.4. For installation assistance, you can seek help from our forum and explore relevant topics.
<Example Topic>
Nevertheless, if anyone encounters errors, they can post under the topic, and we can try to solve them together. Throughout the tutorial, I will also share the errors I encounter and their solutions within the topic.
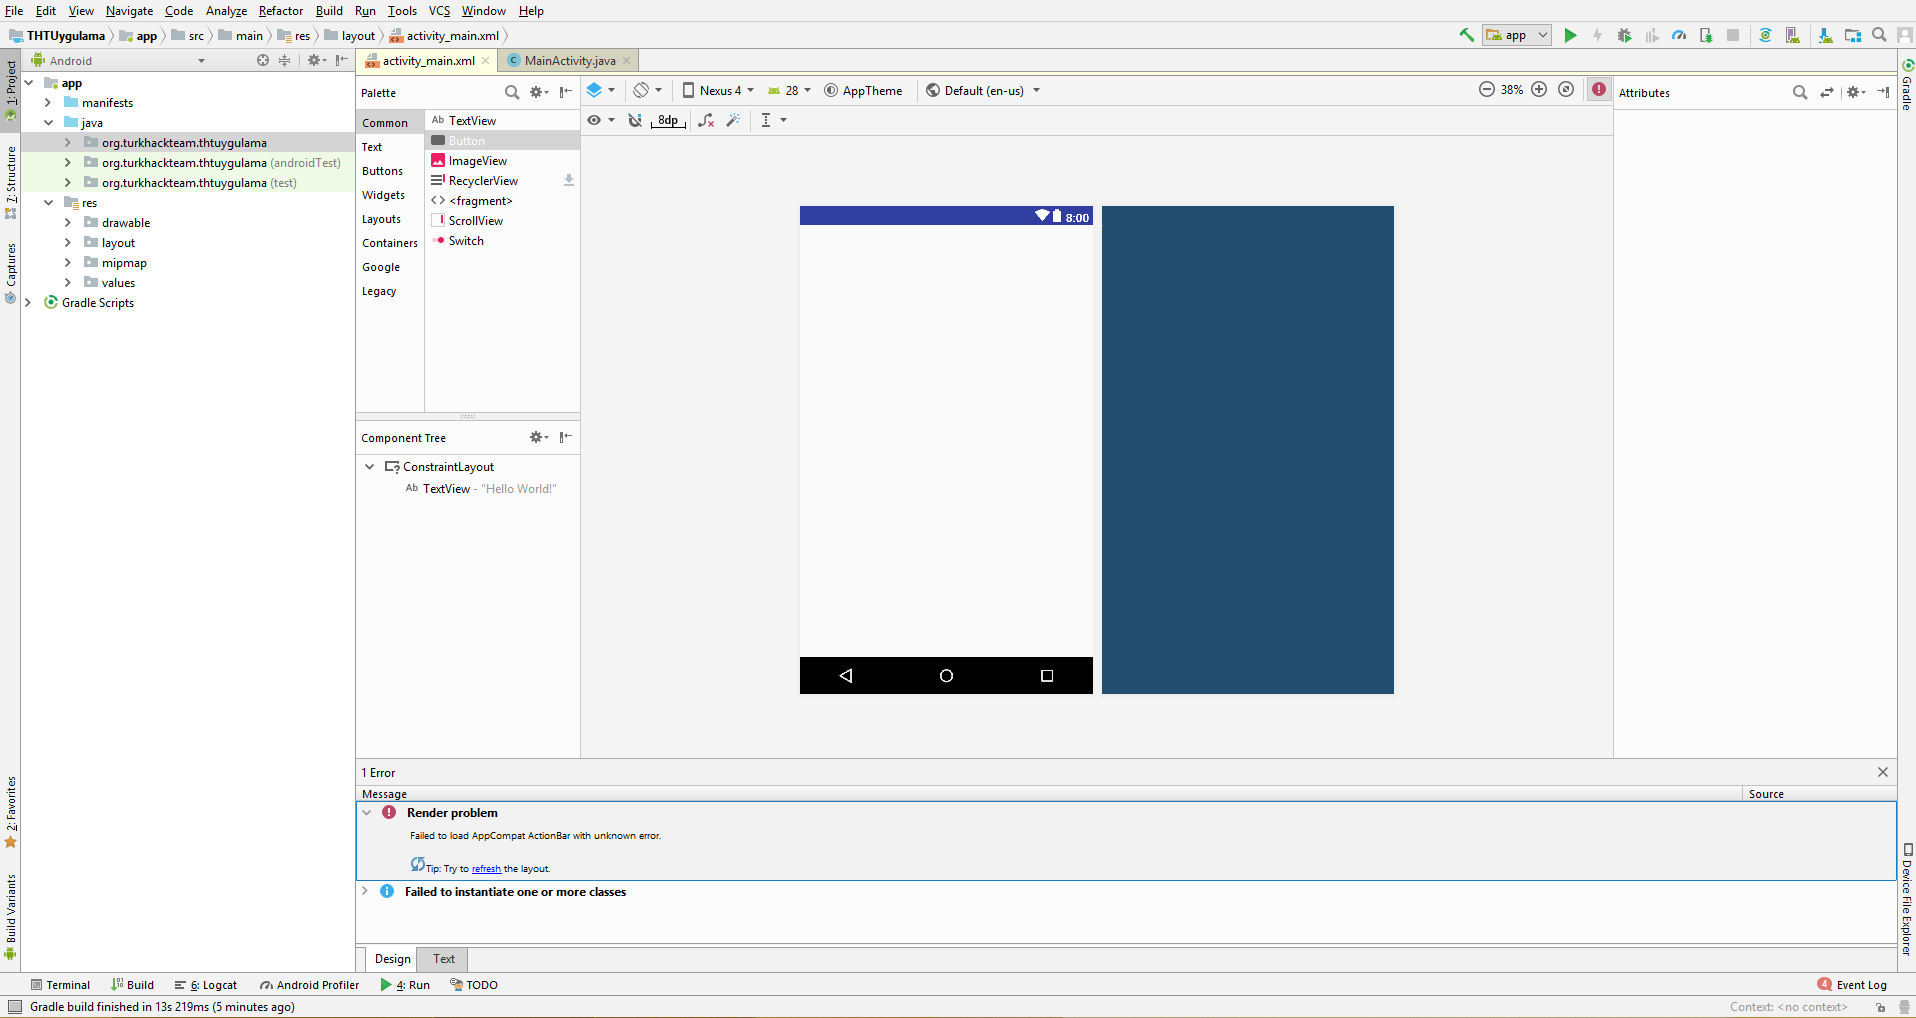
**Our first error and its solution: Failed to load AppCompat ActionBar with unknown error.
Tip: Try to ******* the layout

Rendering error. The added elements are not visible in the studio.
You can resolve this issue related to the theme by selecting the Holo.Light theme from the Apptheme section.
Feel free to write about different solutions.
FIRST DESIGN ON STUDIO
After the necessary installations, let's write our first simple application. While writing, let's see which buttons and codes are used.
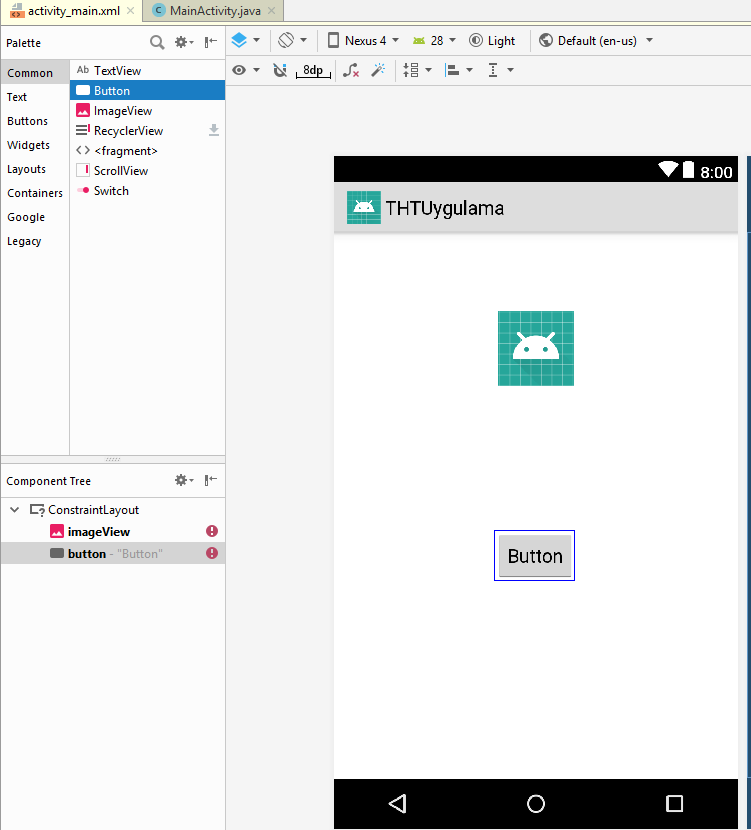
Let's write a simple entry application consisting of 2 images and 1 button, where we can change the image by clicking the button.
In the Activity_Main section, add Button and ImageView from the left content to the desired location on our right screen.

While adding ImageView, it will ask you which image you want to add. For now, adding any launcher icon from the Project section is sufficient.
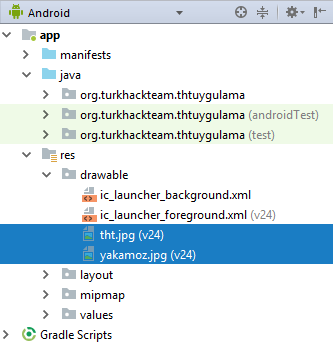
Let's add 2 images.
Copy the images saved on your computer and paste them into app > resource > drawable location.

After adding our images to the drawable location, click on the ImageView box and go to srcCompat in the menu on the right side. Click on the three dots, and when we come to the Project section, the images we added to drawable will appear. Select our first image from here and add it to ImageView.
To be able to give the function of changing the image to the button, while the Button is selected, we need to define in the onClick method on the right side. We need to enter a text without Turkish characters in this part. For memorability, we write 'degistir' (change).
After the necessary resizing in the Design section, click on Infer Constrains at the top for a more organized appearance.
We added our image. Now what we want to do is click the button on the screen and change the image. We will do this with code.
DEFINING OBJECTS IN CODE USING IDs
To do this, let's go to Layout > MainActivity.java (or the name you provided) and write our codes, making some simple settings.
The protected void onCreate method (onCreate is adjacent) is the section where the codes of the screen that appears when our application is first opened are located. We will make our definitions within this method.
We define our ImageView as follows.
First, we write the type of object we will define, then the name of the object.
You can resolve this issue related to the theme by selecting the Holo.Light theme from the Apptheme section.
Feel free to write about different solutions.
FIRST DESIGN ON STUDIO
After the necessary installations, let's write our first simple application. While writing, let's see which buttons and codes are used.
Let's write a simple entry application consisting of 2 images and 1 button, where we can change the image by clicking the button.
In the Activity_Main section, add Button and ImageView from the left content to the desired location on our right screen.

While adding ImageView, it will ask you which image you want to add. For now, adding any launcher icon from the Project section is sufficient.
Let's add 2 images.
Copy the images saved on your computer and paste them into app > resource > drawable location.

After adding our images to the drawable location, click on the ImageView box and go to srcCompat in the menu on the right side. Click on the three dots, and when we come to the Project section, the images we added to drawable will appear. Select our first image from here and add it to ImageView.
To be able to give the function of changing the image to the button, while the Button is selected, we need to define in the onClick method on the right side. We need to enter a text without Turkish characters in this part. For memorability, we write 'degistir' (change).
After the necessary resizing in the Design section, click on Infer Constrains at the top for a more organized appearance.
We added our image. Now what we want to do is click the button on the screen and change the image. We will do this with code.
DEFINING OBJECTS IN CODE USING IDs
To do this, let's go to Layout > MainActivity.java (or the name you provided) and write our codes, making some simple settings.
The protected void onCreate method (onCreate is adjacent) is the section where the codes of the screen that appears when our application is first opened are located. We will make our definitions within this method.
We define our ImageView as follows.
First, we write the type of object we will define, then the name of the object.
Kod:
ImageView resim1 = (ImageView) findViewById(R.id.imageView) ;
We need to create a new method for what should happen when the button is clicked.
Kod:
public vo id degistir(View view) { }(onCreate is adjacent)
After adding our code, within the curly brackets, we will write what should happen when the button is clicked.
What we want is to change the image of the ImageView with a second image.
In the newly created method, the ImageView must also be defined. Therefore, let's make the ImageView definition within the public void onCreate method. If we don't make the definition, we won't be able to access ImageView when writing the code.
Kod:
ImageView resim1 = (ImageView) findViewById(R.id.imageView) ;After the definition, to configure what will happen to ImageView;
Kod:
resim1.setImageResource(R.drawable.tht);
After completing our object definitions and button click function, let's check our application from the emulator.


Source : Ƴαĸαмoz1Յ1Գ https://www.turkhackteam.org/konula...stirme-1-studio-uzerinde-ilk-tasarim.1766459/


