


What Is WampServer?
It is a WEB programming application that can run on Windows and helps design a WEB server using computers and servers.
WAMP provides the following features within the scope of running on a web server;
-Operation System (Windows)
-Web Server (Apache)
-Database (MySQL)
-Script Languge (PHP and Python)
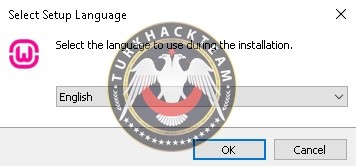
- First of all, we run the .exe and we select the language we want from the Language window, we only have two choices, we choose English.

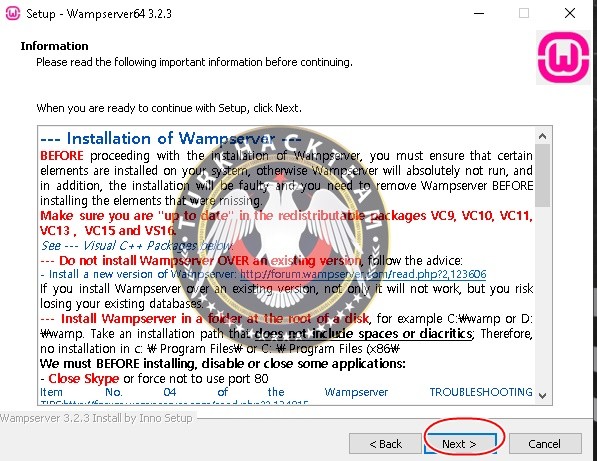
- Then we accept the agreement and click "Next".

- There are some warnings in this window, some computers may ask us to install Visual C++ and you can get those packages from there by scrolling to the bottom.
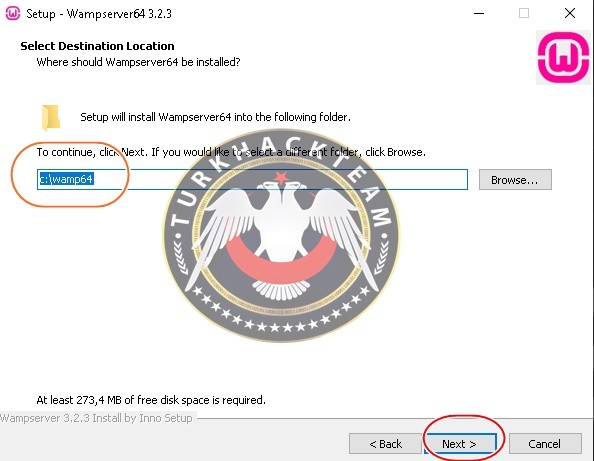
- From now, you will select the folders in which you want the PHP files to be saved, here, I continue with the default path.
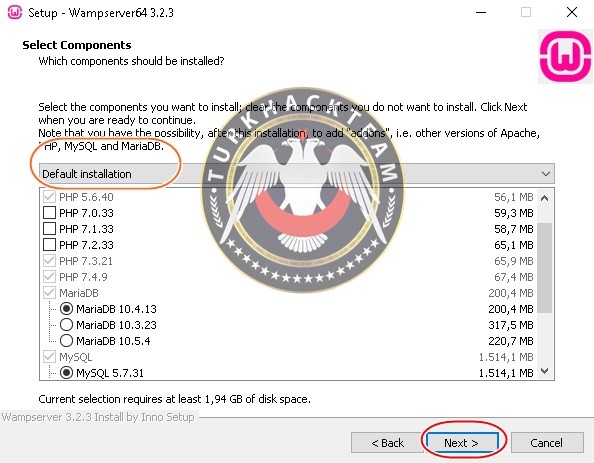
- In this section, we continue from the Default settings and then click "Next".
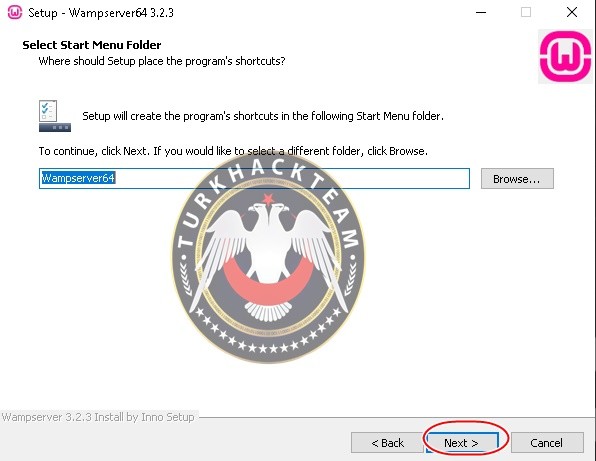
- It says that it is going to create a folder in the start menu and we click to "Next".
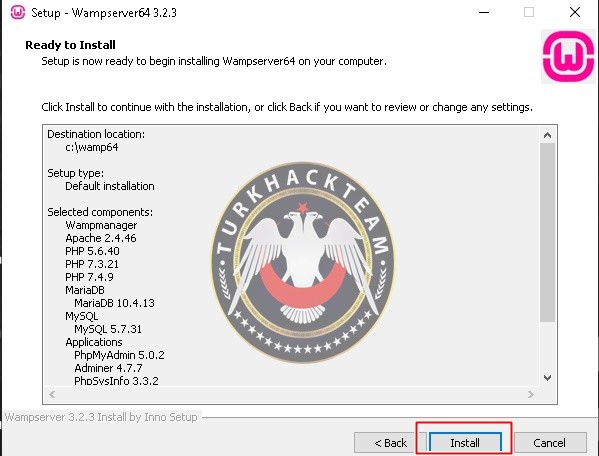
- A brief summary of the steps we have made can be seen in this window, we start the installation with the "Install" section.
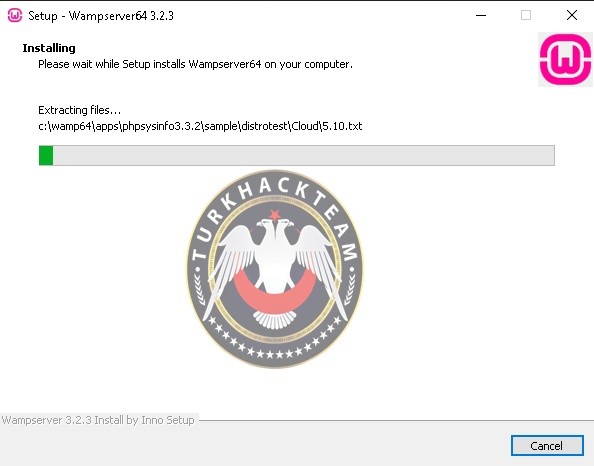
- We are waiting for the installation to be loaded, while we keep an eye on the screen because different notifications will be sent to the screen, we are waiting for them.
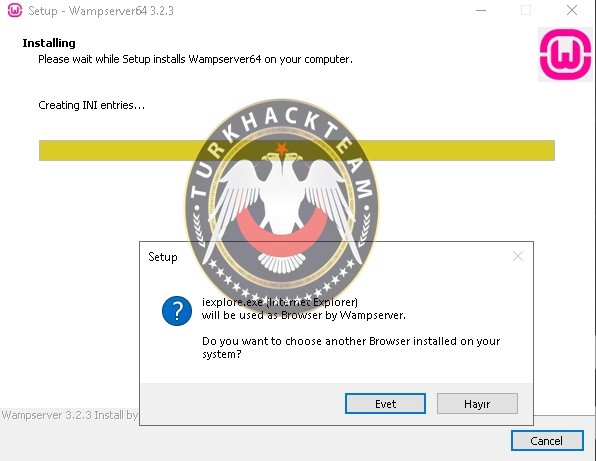
- Our first notification came to the screen, where it offers you which default web browser program you want to use in the program. If you want to change it, you say "Yes". I say "No" because I want to continue through Internet Explorer. You can also choose Google or Opera and continue.
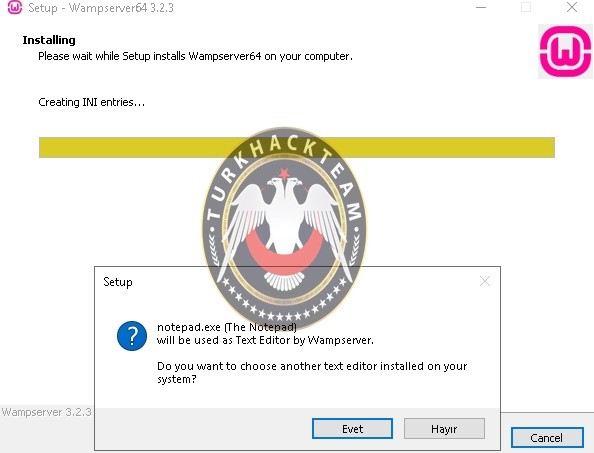
- After passing the first step, in the second step, it asks us which editor you want to write codes on Wampserver. If you want to change, you can click "Yes" button and choose Visual programs. I say "No" as my choice will be on NotePad.
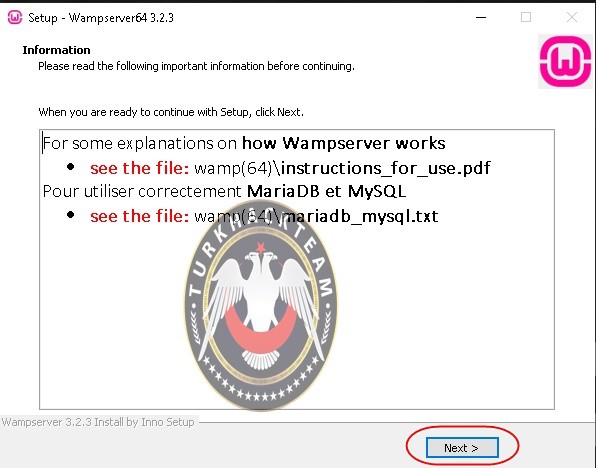
- It shows a brief summary of the choices we made in this window. We say "Next".
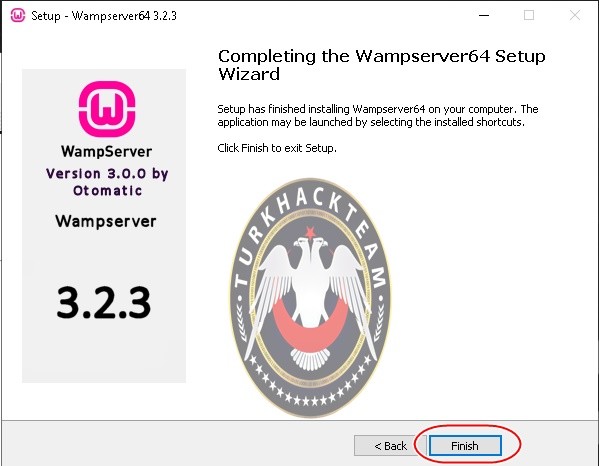
- Our program installation is finished here, we say "Finish" and complete the installation.
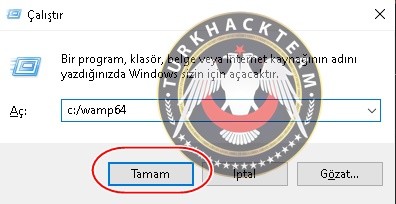
- We write "Run" at the bottom left and enter the c:/wamp64 command to open the wamp folder on the C disk and click "OK".
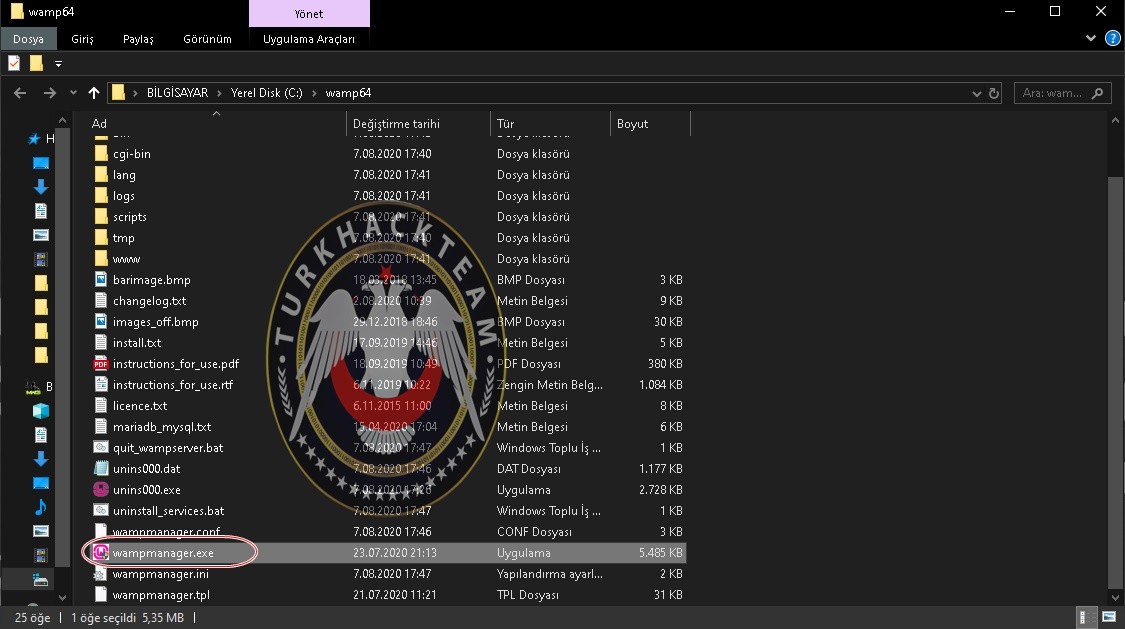
- In the opened folder, we find the wampmanager.exe extension and double click and open it.
touch anything in this CMD window and wait for the application's own internal installation.

- If you say how do I know that the program is active, if you see the small wamp icon on the Task bar, it means the program is active now.

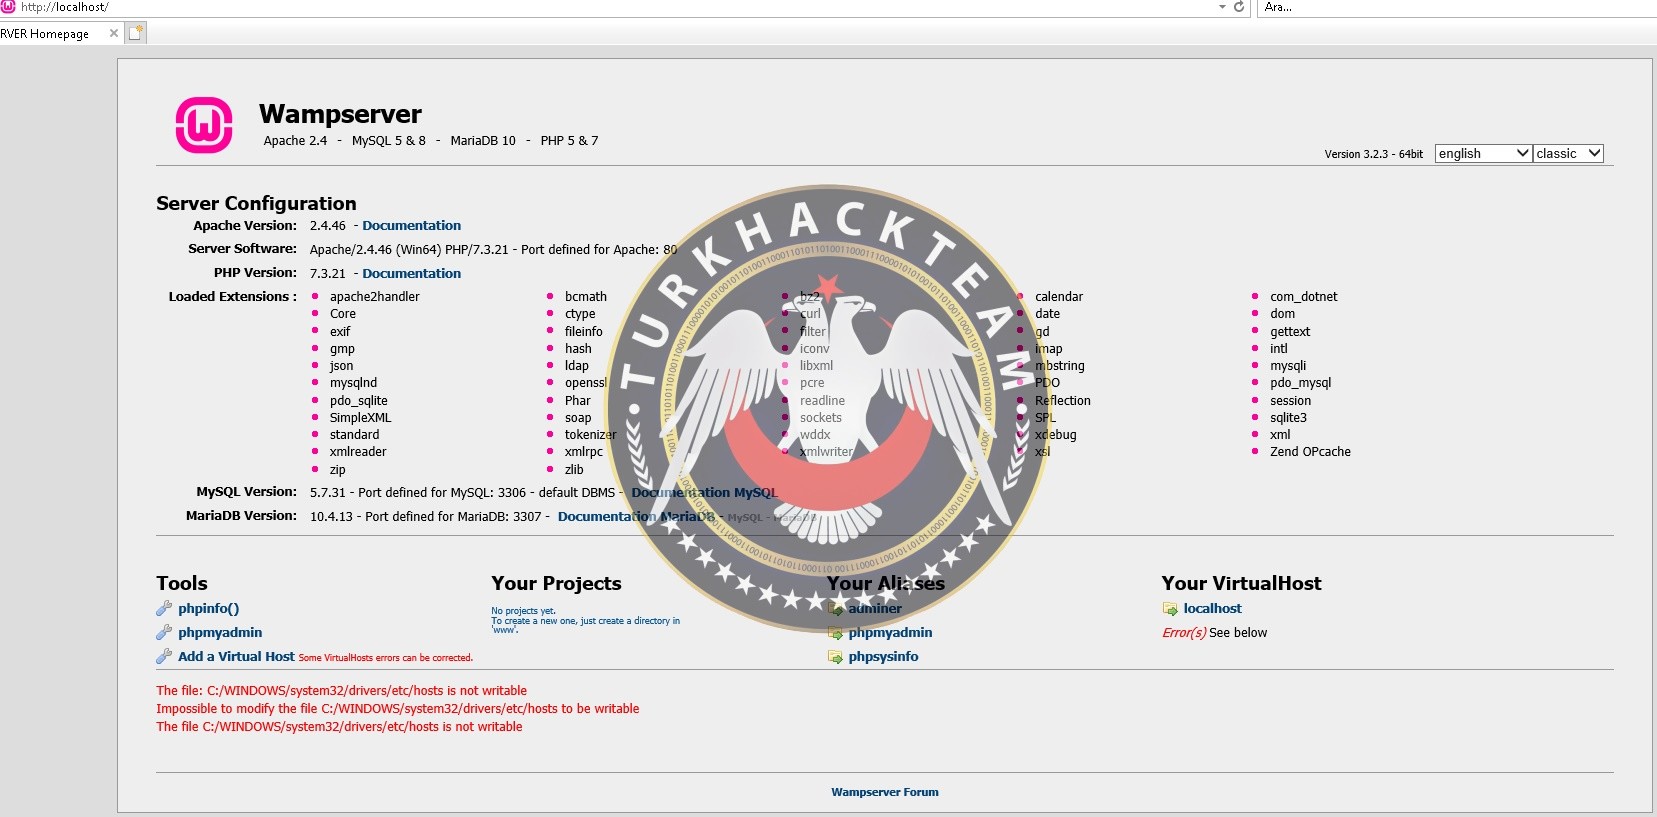
- Then, we open the Web Search program we chose in the installation phase, type localhost in the search section and click "Enter". Since I chose Internet Explorer, I did this by applying the steps, and if this is the window we see, it means that we have done this installation correctly without any accident.
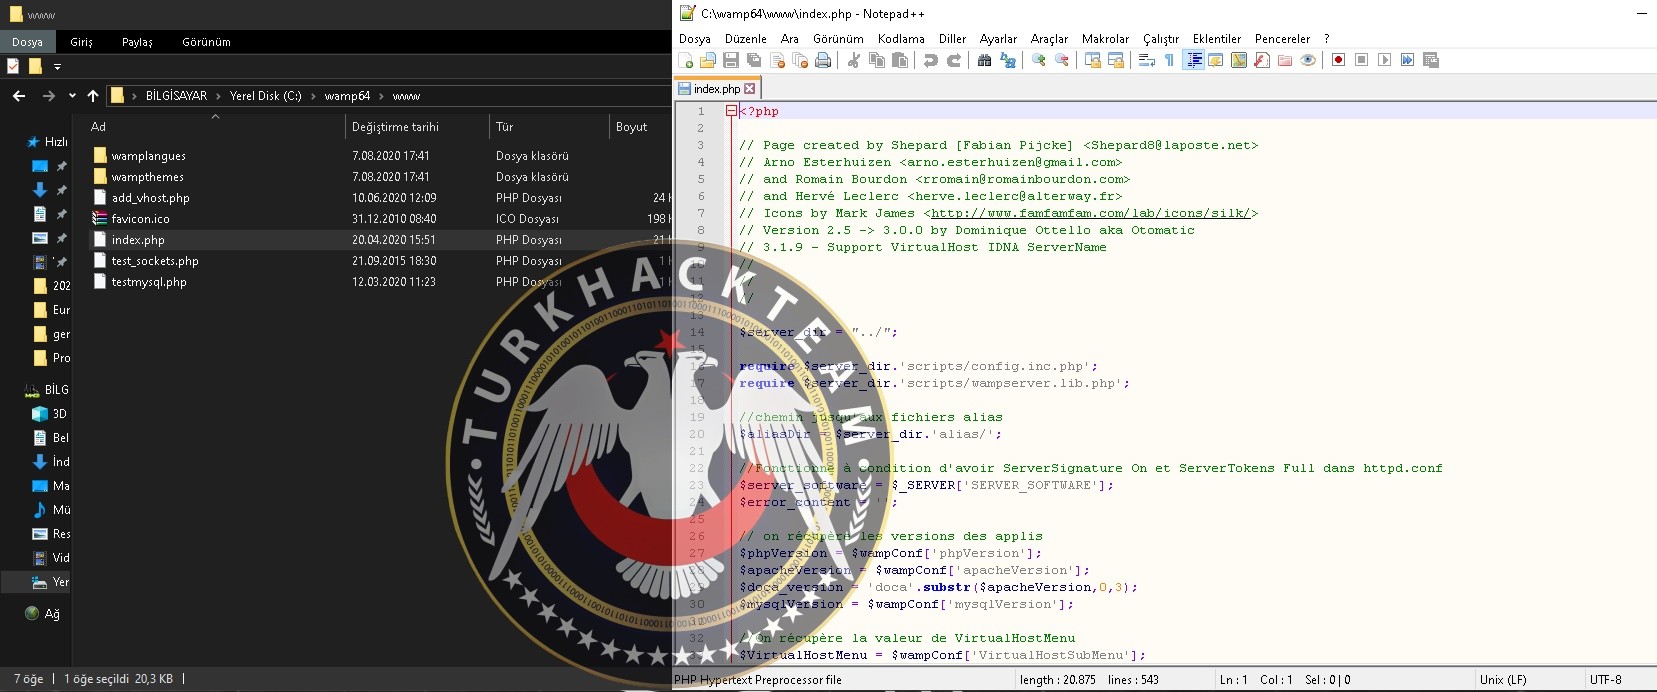
- How are we going to run php files in this setup? Now we'll tell about it. Here we click on the folder named "www" in the wamp64 folder.
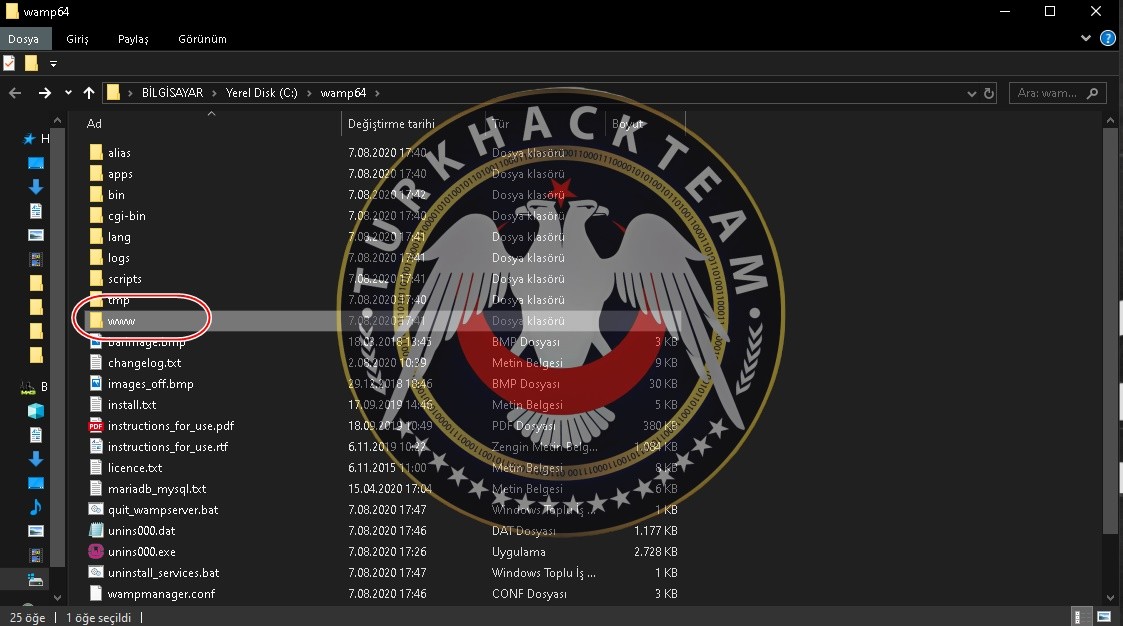
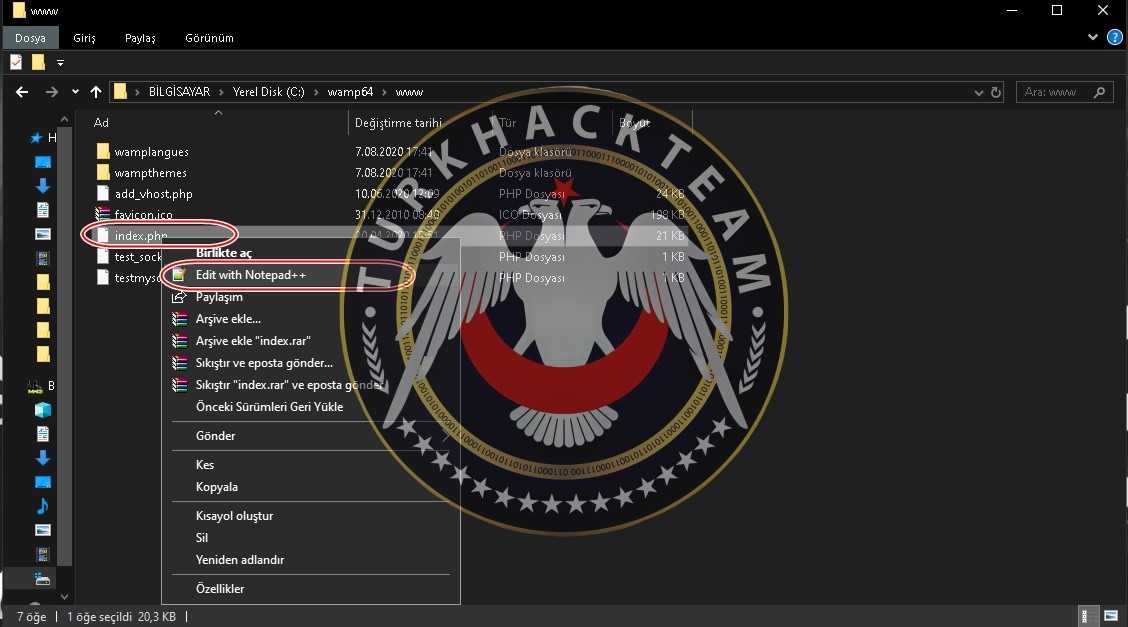
- The localhost page that I showed you in search, the index.php extension you see here. NotePad program, which is the edit program I chose during the installation above, also comes into play here. We activate it together with NotePad to see the source codes of the index.php extension.
- As you can see, the localhost page is all about these.
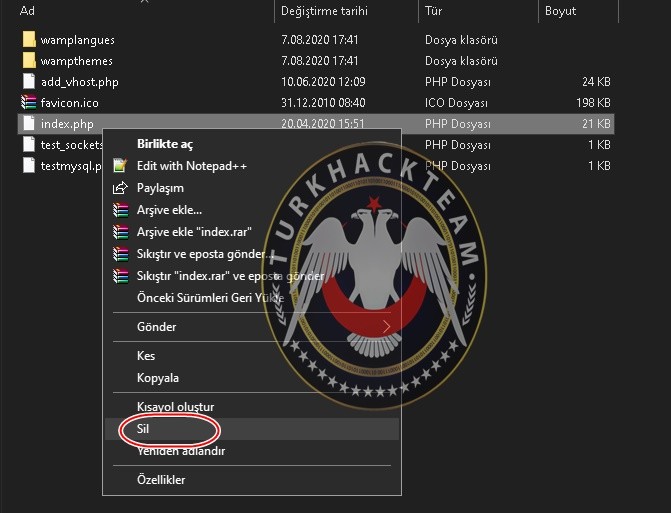
- We are deleting this index.php folder and we're gonna create another page ourselves.
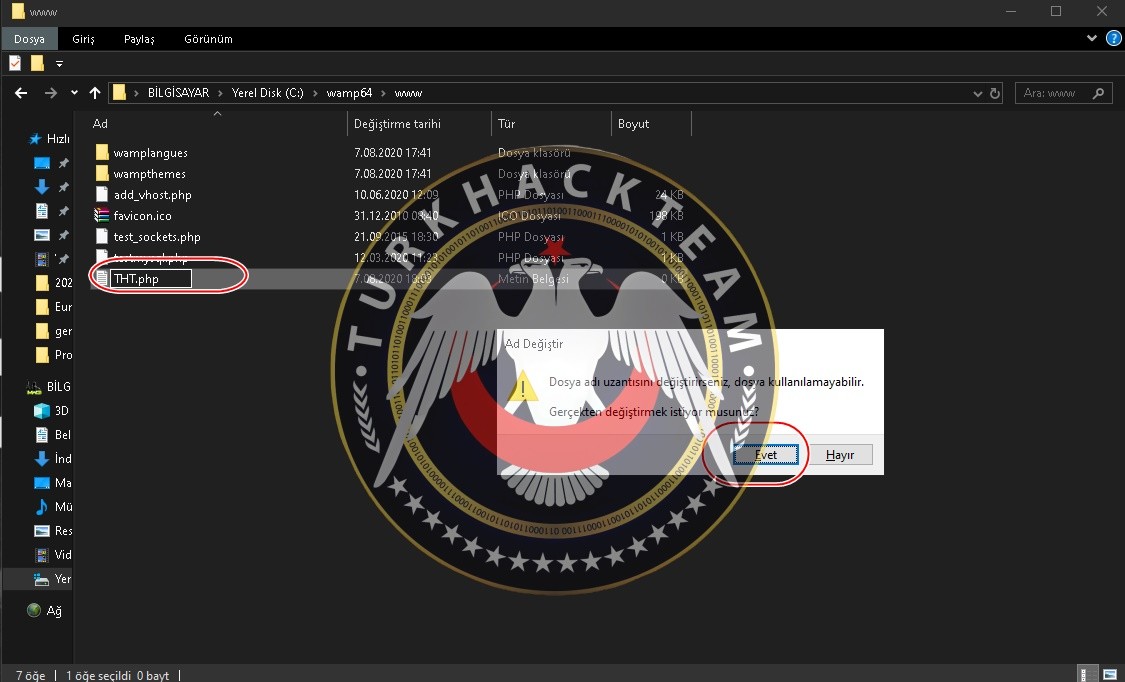
- Right click on an empty area and click "New" and then create a new "Text Documént".

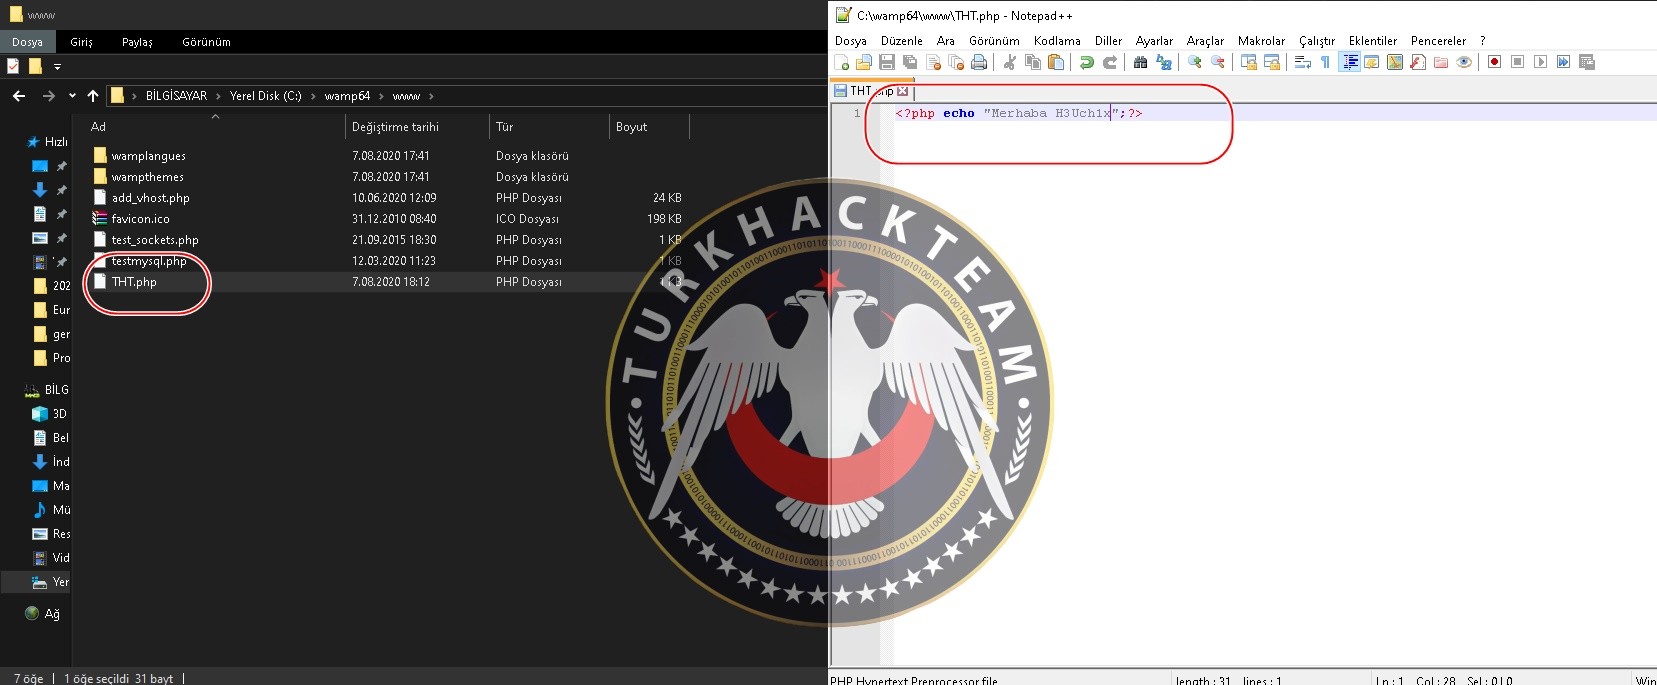
- I save the newly created file as THT.php and say "Yes", you can name it whatever you want.
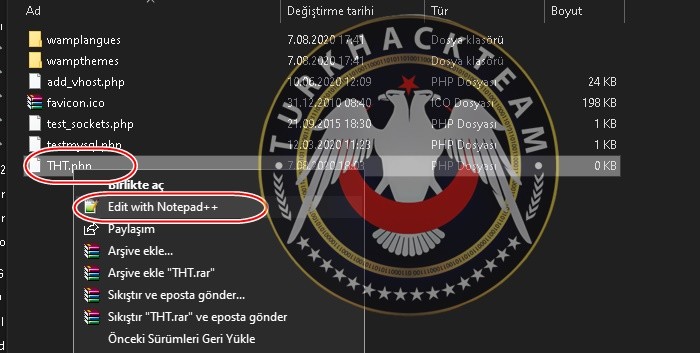
- Right click on the php extension folder that we created and open it with NotePad.
- After the page is opened, we enter the message we want to show on the page as a code here;
Kod:
<?php echo "Merhaba THT-H3Uch1x";?>Then we save this page with the shortcut Ctrl+S and then close this page.
- As the last step, we return to Internet Explorer search and in the search section we type localhost/(the name you given to the folder).php and press Enter. I made it with localhost/THT.php extension, as we can see the command it works without any problems.


Source: https://www.turkhackteam.org/resimli-program-anlatimi/1935978-wampserver-ile-mysql-apache-php-kurulumu-ve-kullanimi-local-server-2020-a.html
Translator: Dolyetyus

