

- 23 Nis 2020
- 297
- 1
Hello everyone,today i am going to show you how to seperate and combine driver d in Wİndows 10
You know, the hard drive consists of a single drive and it can be split , we call it Disk Parsing. Special format name and letter for these discs we reserved, I will choose it as Disk D, good readings.
Seperating:First we type Computer Management to the search panel adn press enter.
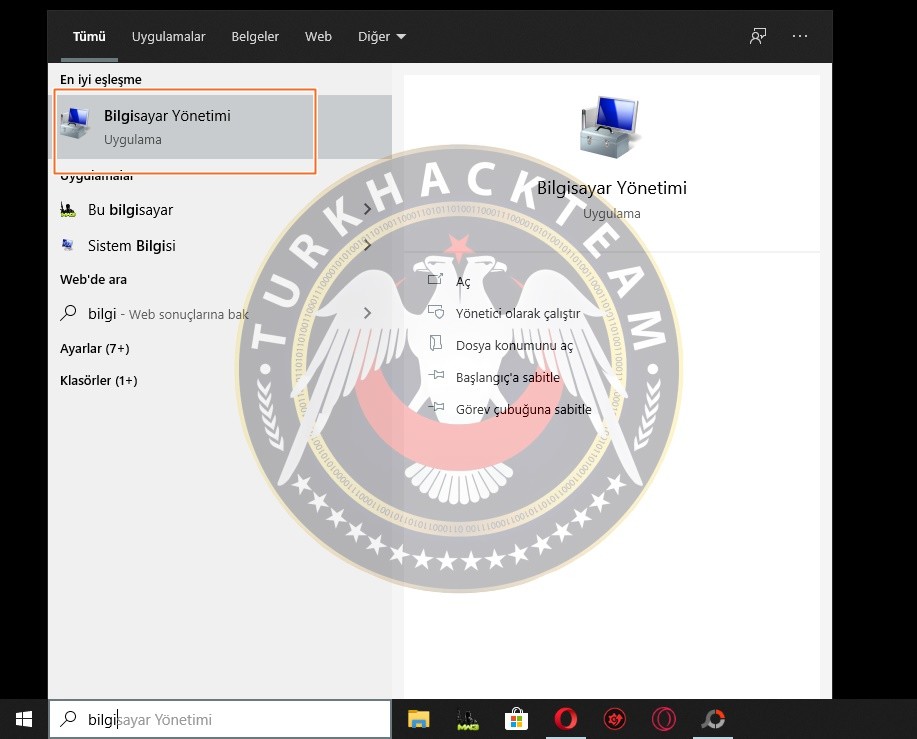
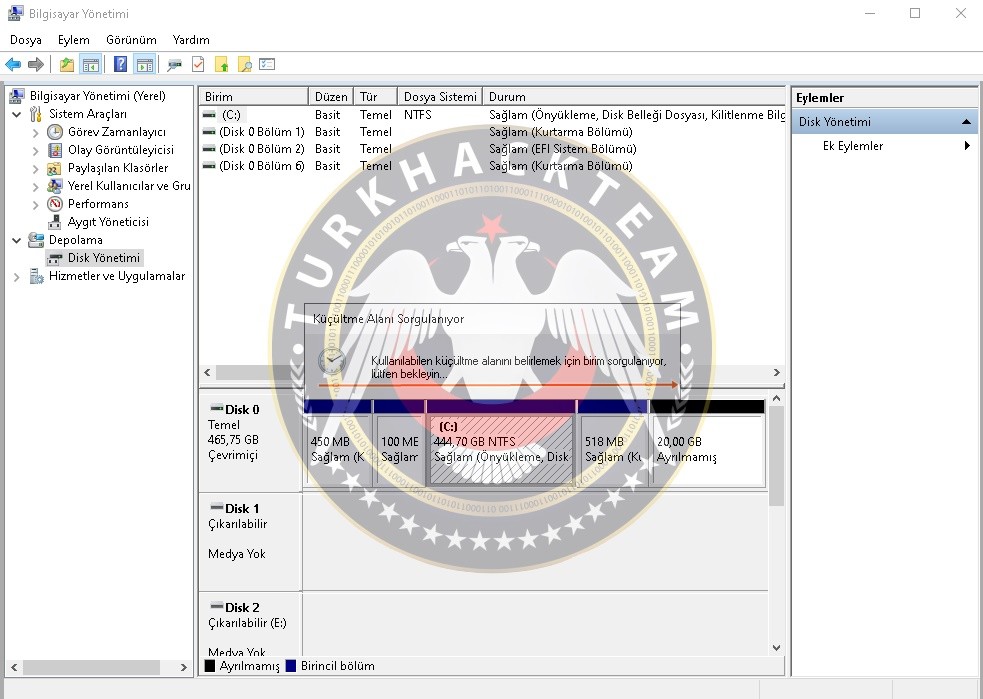
In the "Computer Management (Local)" window that opens, we click "Storage".
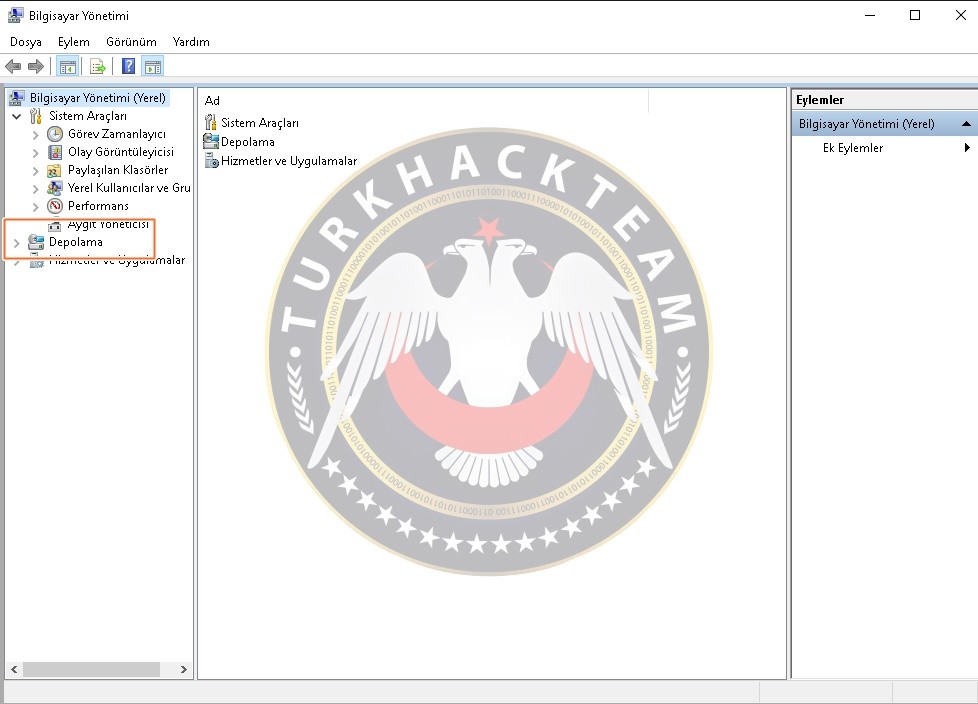
We find the "Disk Management" option, which is the sub-tab of "Storage" section that opens, and t that appears contains the disks, which are parsed and the first part, and Disk C.
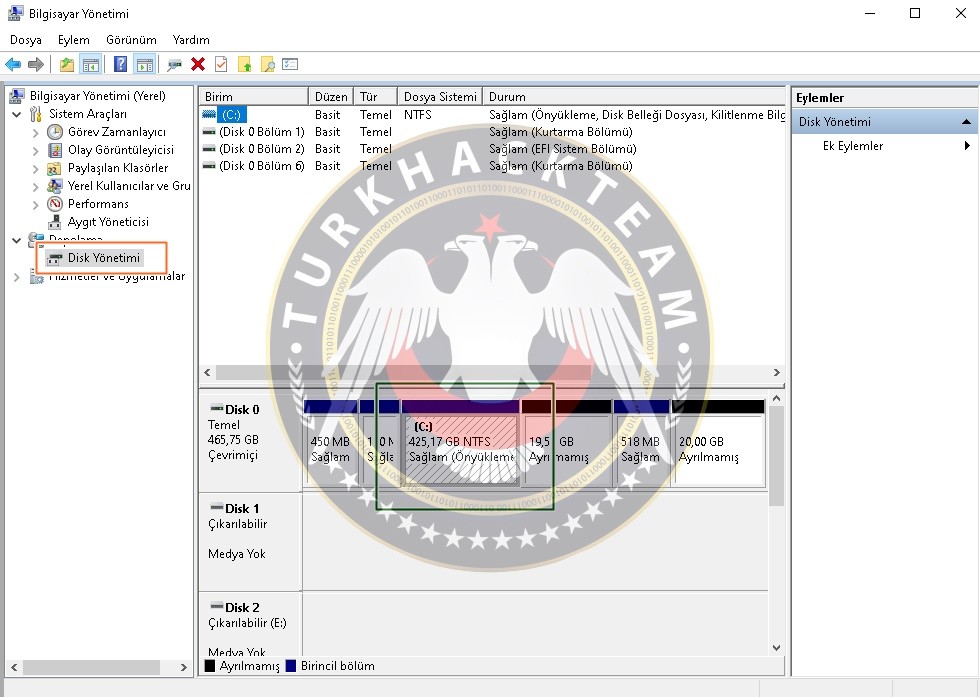
In the box we right click on the area where the C disk is located and then we say "Shrink Volume".
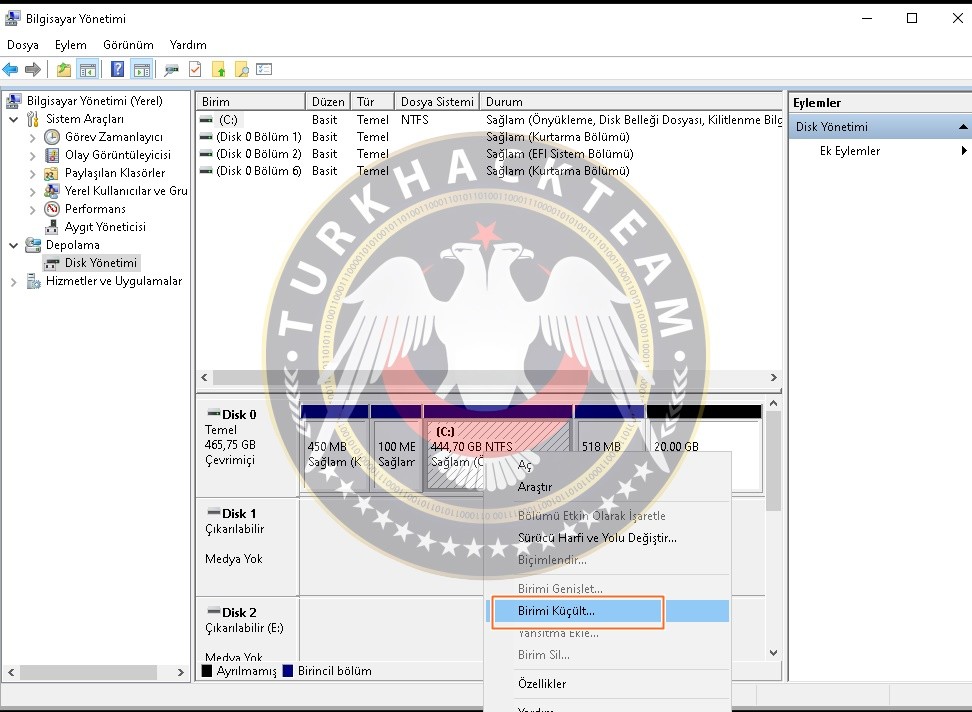
Then we wait for the automatically queried shrink area so we can continue to our process.
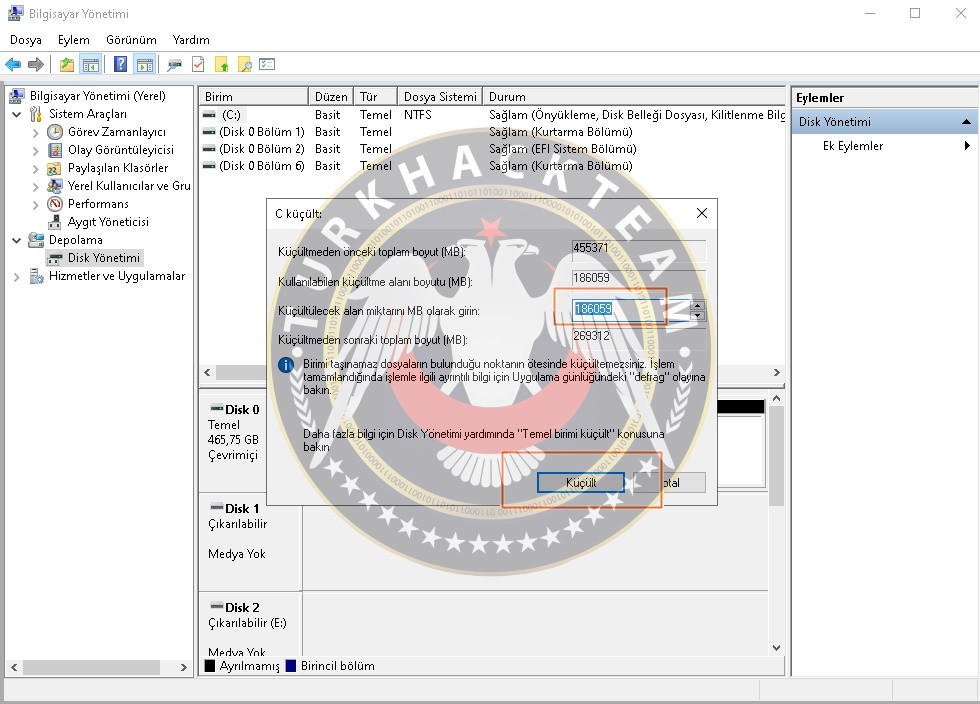
We enter a number in the amount of free space. I will reserve the D Disk as "180GB", then we say "Shrink".
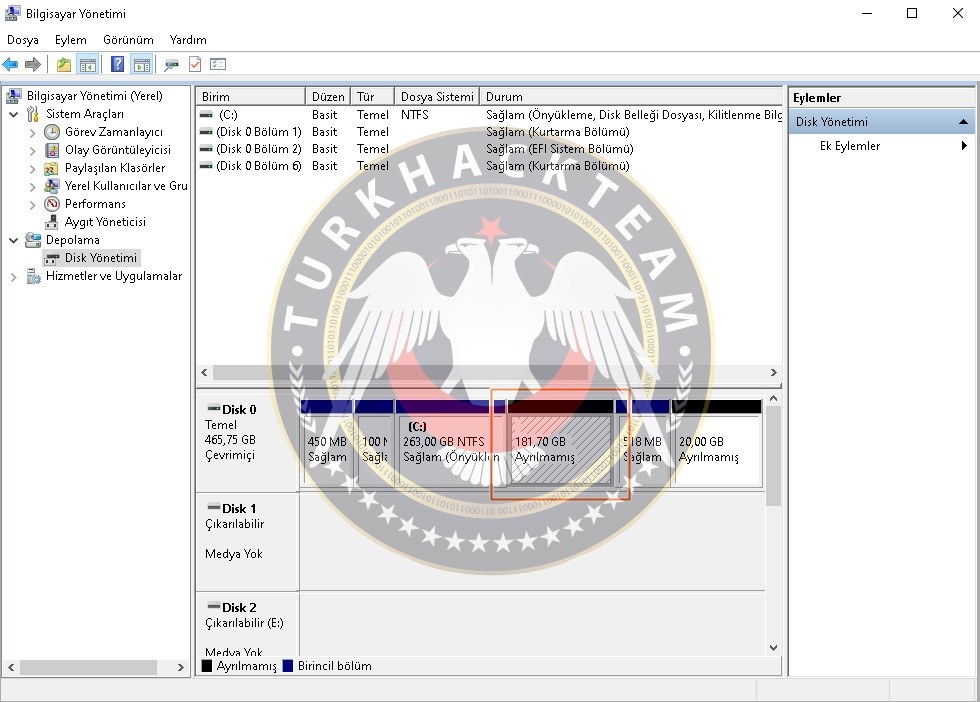
As you can see on the screen, there is "180GB" disk allocated. It is time to find a name for this disk.
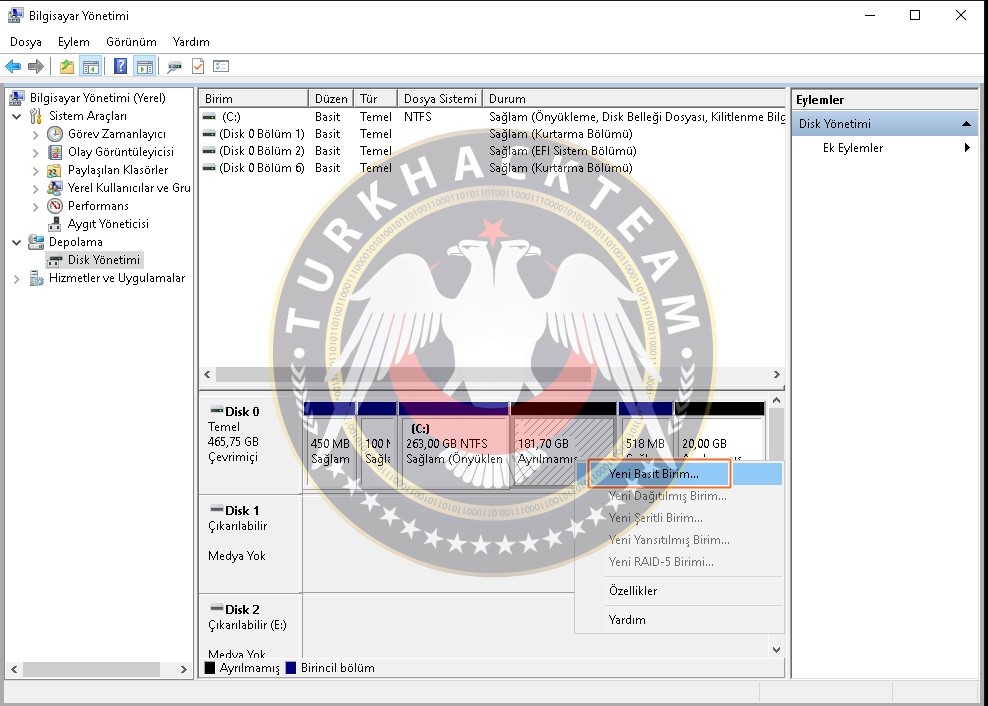
We are doing right lick on this volume and call it "New Simple Volume".
When the Wizard comes we click "next".

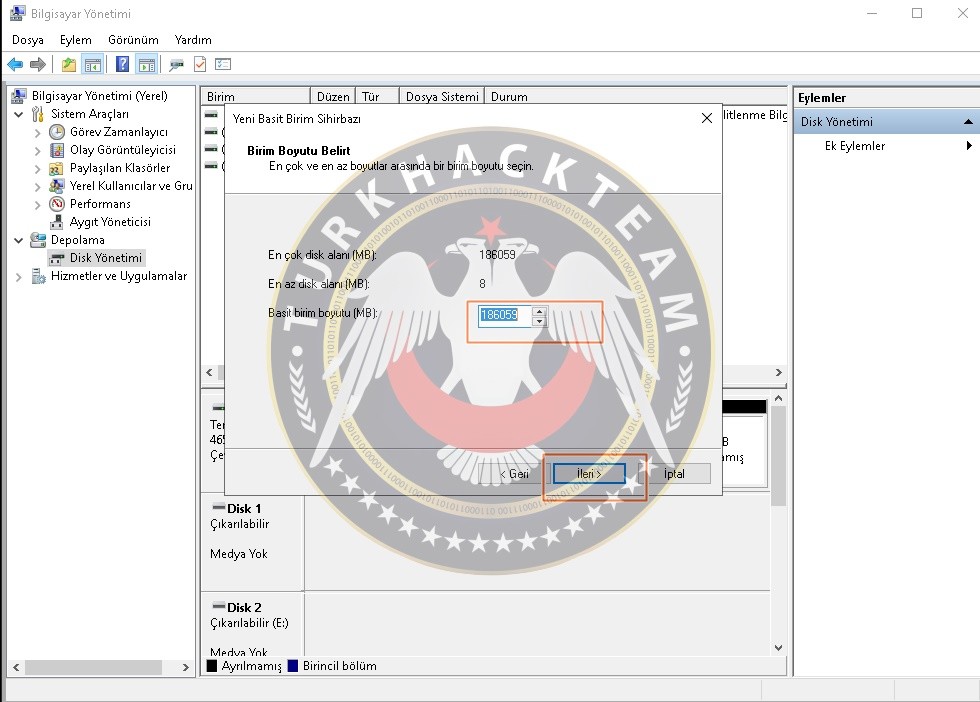
This window shows, the total GB data of the disk we reserved previously.
I continue this type because I will define it. I say "Next".
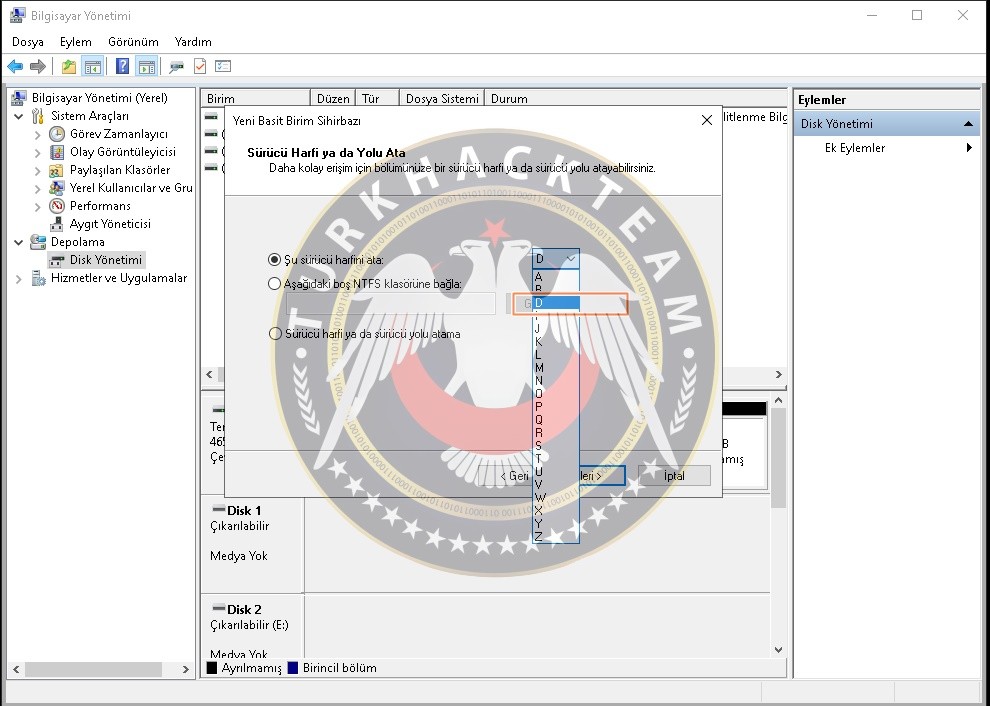
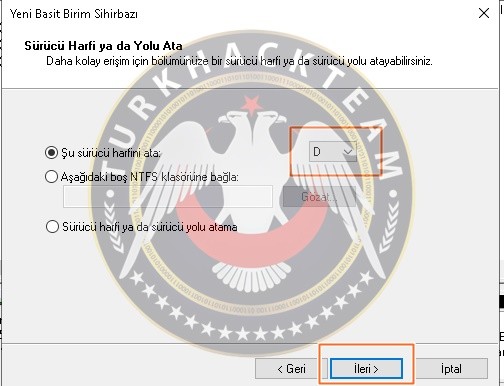
Now it's time to name our disk, you can choose a letter you want from here so I will create the D Disk
I choose the letter "D".
You can also choose a driver path if you want from the options, but this is not our subject so you can pass this process and say "Next".
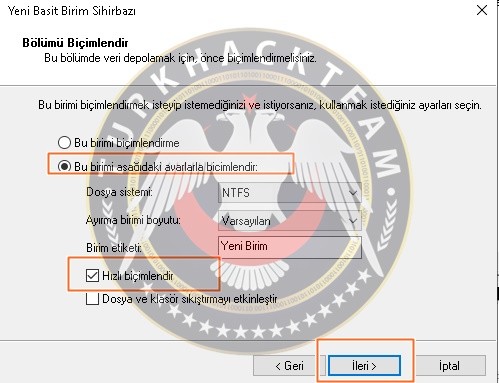
We can create the Disk Name that we want from the "Volume Label" section.
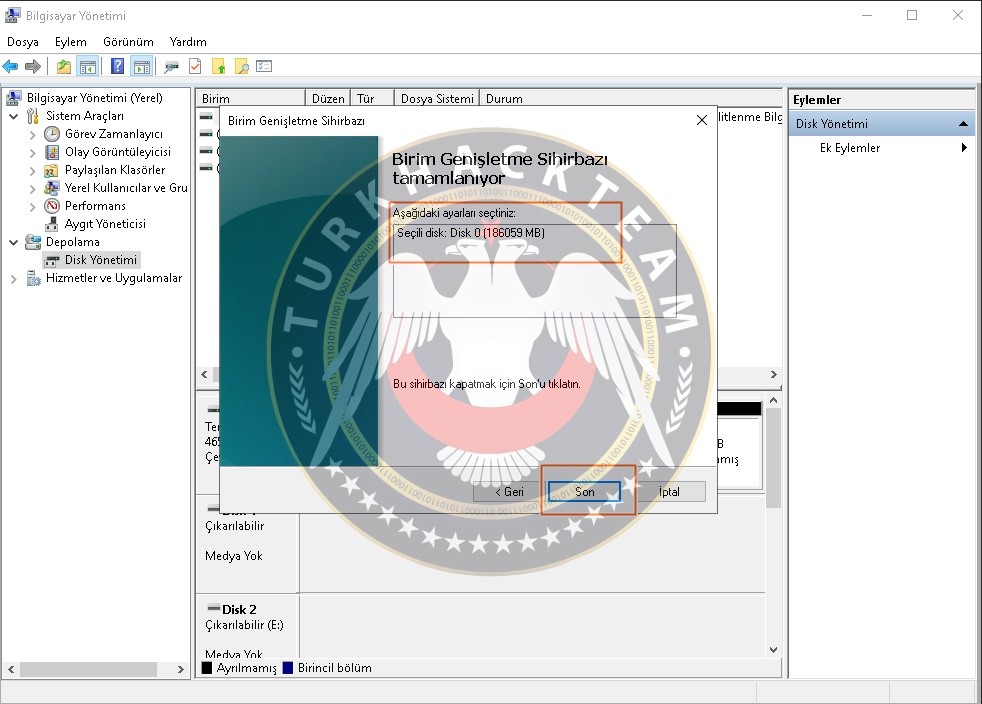
The setup wizard gives us again the status report of our action and ask for make a change
If we want, we can say "back". I say "Finish" and complete the defragmentation process.
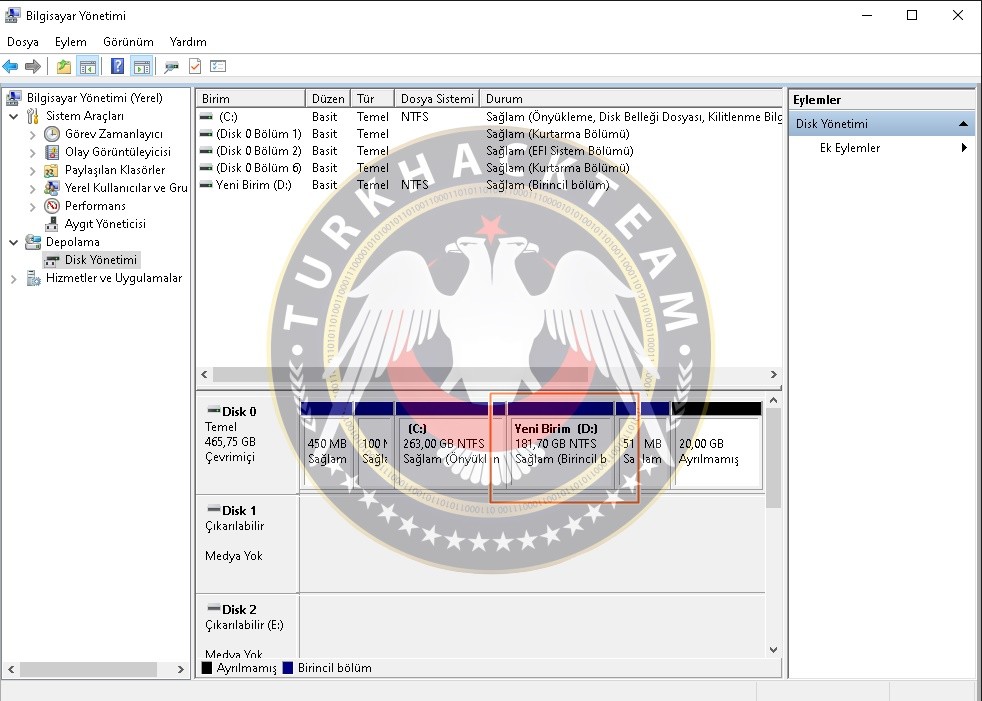
As you can see in the Computer Management section, our D Disk has been created.
Combining Disks
If I want to manage with a single drive, I don't want an extra disk, n, my data is on a single disk
If you want to be collect, you can follow the steps here and delete "Disk D" and leave it back to "Disk C".
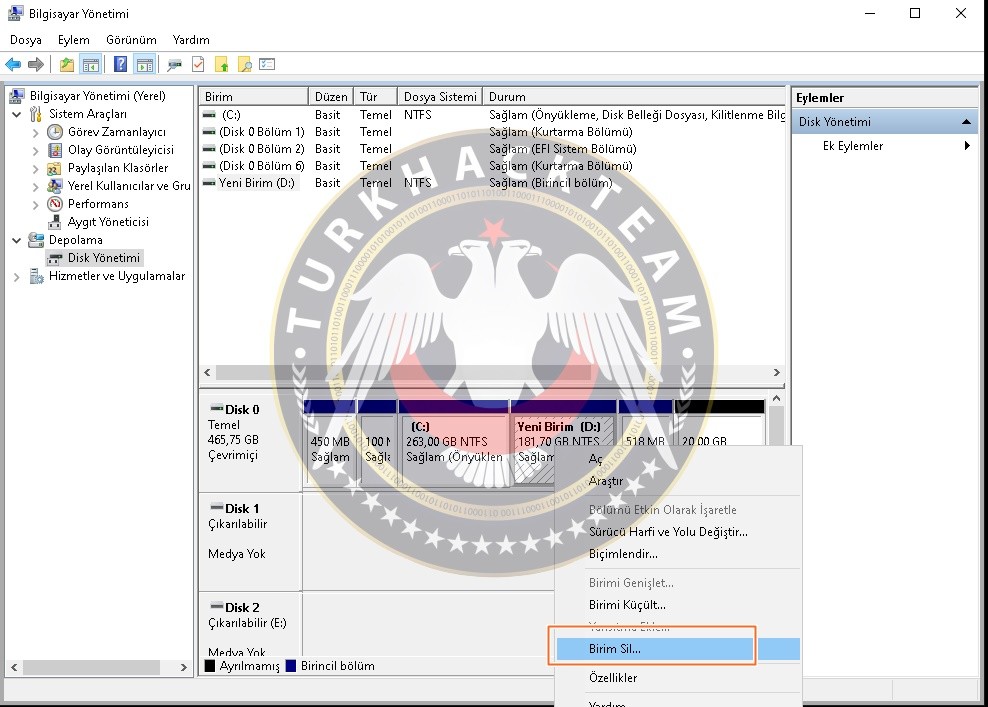
- Right click the D Disk in the Computer Management section and say "Delete Volume" and click the D Disk statement on the top.
we destroy.
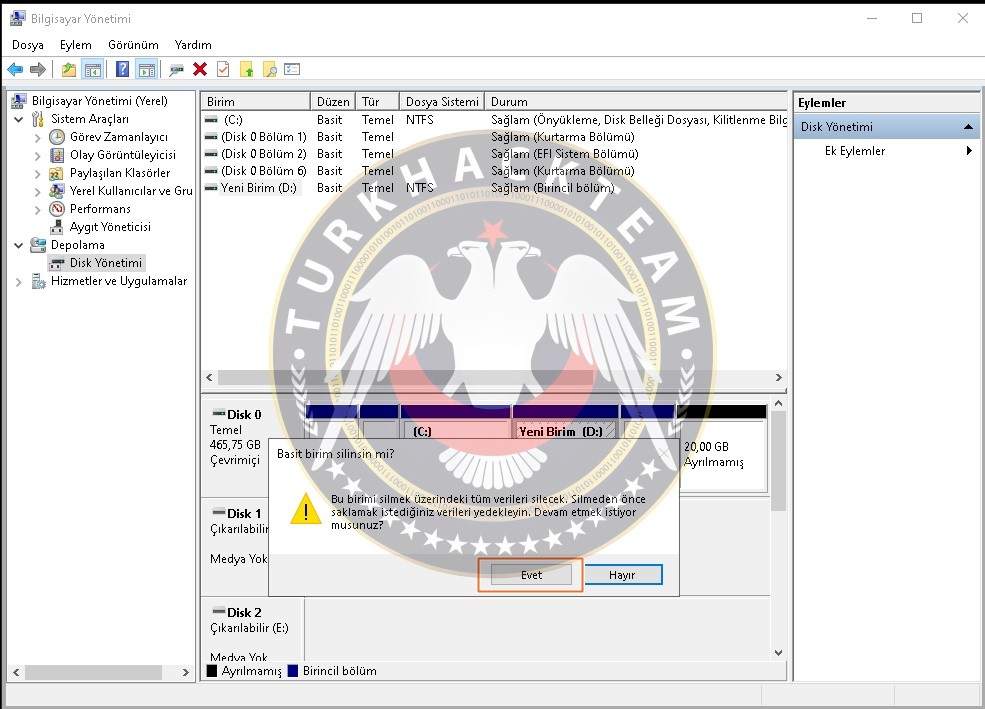
The window that appears asks for confirmation to delete the volume of this disk, and we say "Yes" to it and give the user confirmation.
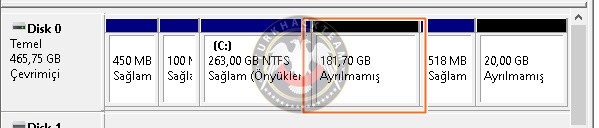
As you can see, the stamp on Disk D has been removed, it is now an unnamed parsed Disk.
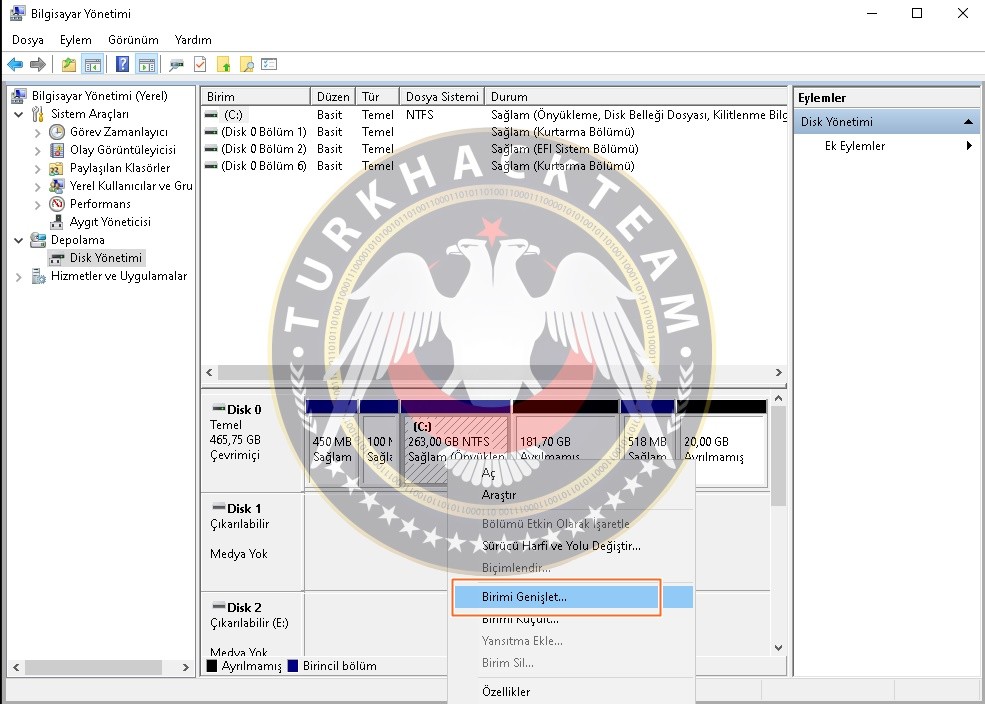
Right click on "Disk C" again and then click "Extend Volume". This process will save 180 GB of data.
will retract.
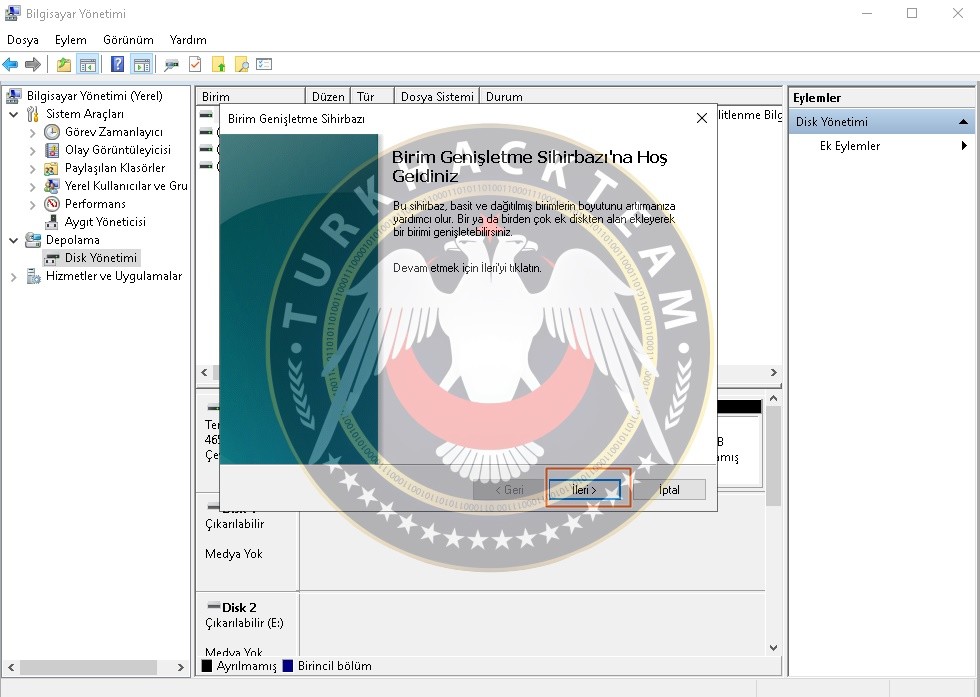
Again, the setup wizard for "Volume Expansion" appears and we say "Next".
To verify the selected disk, you can look at the number of verification given below,
We can leave it back and add it to "Disk C", but we add all back and say "Next".

The setup wizard again gives us the status report of our action and makes a change
If we want, we can say back. I say "Finish" and complete the defragmentation process.
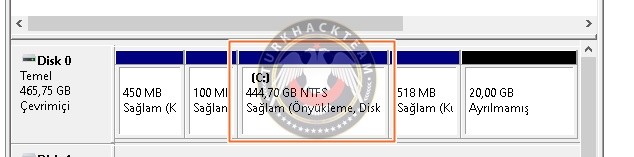
As you can see, the "Disk C" remains in one piece again.
You know, the hard drive consists of a single drive and it can be split , we call it Disk Parsing. Special format name and letter for these discs we reserved, I will choose it as Disk D, good readings.
Seperating:First we type Computer Management to the search panel adn press enter.
In the "Computer Management (Local)" window that opens, we click "Storage".
We find the "Disk Management" option, which is the sub-tab of "Storage" section that opens, and t that appears contains the disks, which are parsed and the first part, and Disk C.
In the box we right click on the area where the C disk is located and then we say "Shrink Volume".
Then we wait for the automatically queried shrink area so we can continue to our process.
We enter a number in the amount of free space. I will reserve the D Disk as "180GB", then we say "Shrink".
As you can see on the screen, there is "180GB" disk allocated. It is time to find a name for this disk.
We are doing right lick on this volume and call it "New Simple Volume".
When the Wizard comes we click "next".
This window shows, the total GB data of the disk we reserved previously.
I continue this type because I will define it. I say "Next".
Now it's time to name our disk, you can choose a letter you want from here so I will create the D Disk
I choose the letter "D".
You can also choose a driver path if you want from the options, but this is not our subject so you can pass this process and say "Next".
We can create the Disk Name that we want from the "Volume Label" section.
The setup wizard gives us again the status report of our action and ask for make a change
If we want, we can say "back". I say "Finish" and complete the defragmentation process.
As you can see in the Computer Management section, our D Disk has been created.
Combining Disks
If I want to manage with a single drive, I don't want an extra disk, n, my data is on a single disk
If you want to be collect, you can follow the steps here and delete "Disk D" and leave it back to "Disk C".
- Right click the D Disk in the Computer Management section and say "Delete Volume" and click the D Disk statement on the top.
we destroy.
The window that appears asks for confirmation to delete the volume of this disk, and we say "Yes" to it and give the user confirmation.
As you can see, the stamp on Disk D has been removed, it is now an unnamed parsed Disk.
Right click on "Disk C" again and then click "Extend Volume". This process will save 180 GB of data.
will retract.
Again, the setup wizard for "Volume Expansion" appears and we say "Next".
To verify the selected disk, you can look at the number of verification given below,
We can leave it back and add it to "Disk C", but we add all back and say "Next".
The setup wizard again gives us the status report of our action and makes a change
If we want, we can say back. I say "Finish" and complete the defragmentation process.
As you can see, the "Disk C" remains in one piece again.
Moderatör tarafında düzenlendi:

